

My grand-father-in-law's 80th Birthday went great! Sadly, we missed most of it. On our way to Louisiana, they shut down a large chunk of the I-10 east freeway (so we needed to take street roads until it opened up again), then there was an accident near the Lake Charles Bridge (causing a major backup), AND THEN it was raining so hard people just stopped on the road- so we had to drive like 30 mph. Oh man, at the last bit, my husband, his sister and myself were just laughing it was so absurd. We arrived about two hours late- just after the cake cutting, and right as some people were heading out. BUT I enjoyed the time spent with my in-laws, they are so sweet and loving, and sometimes its just nice to be around family. And before I begin must say- it was amazing- to have and 80 year old grandfather-in-law but what was even more amazing, is my great-great-grandmother-in-law is 98-years-old and was attending the birthday party! I can only dream of having a long and happy life just like those two.
So on to the recipe. Well, I had already made the Peanut Butter Surprise Chocolate Fudge Pudding Cookies. And even though they were the middle ground to both my hubster and I- I still wanted to make something that was not chocolate at all. Plus, I wanted to make cake pops. I've tried it once before (before I began this blog) and I thought they were cute. After asking my husband which cake he would like- he chose carrot cake. And that is how Carrot Cake Balls were made :) I made two types (1) cupcake shape and (2) cake balls rolled in pecans.
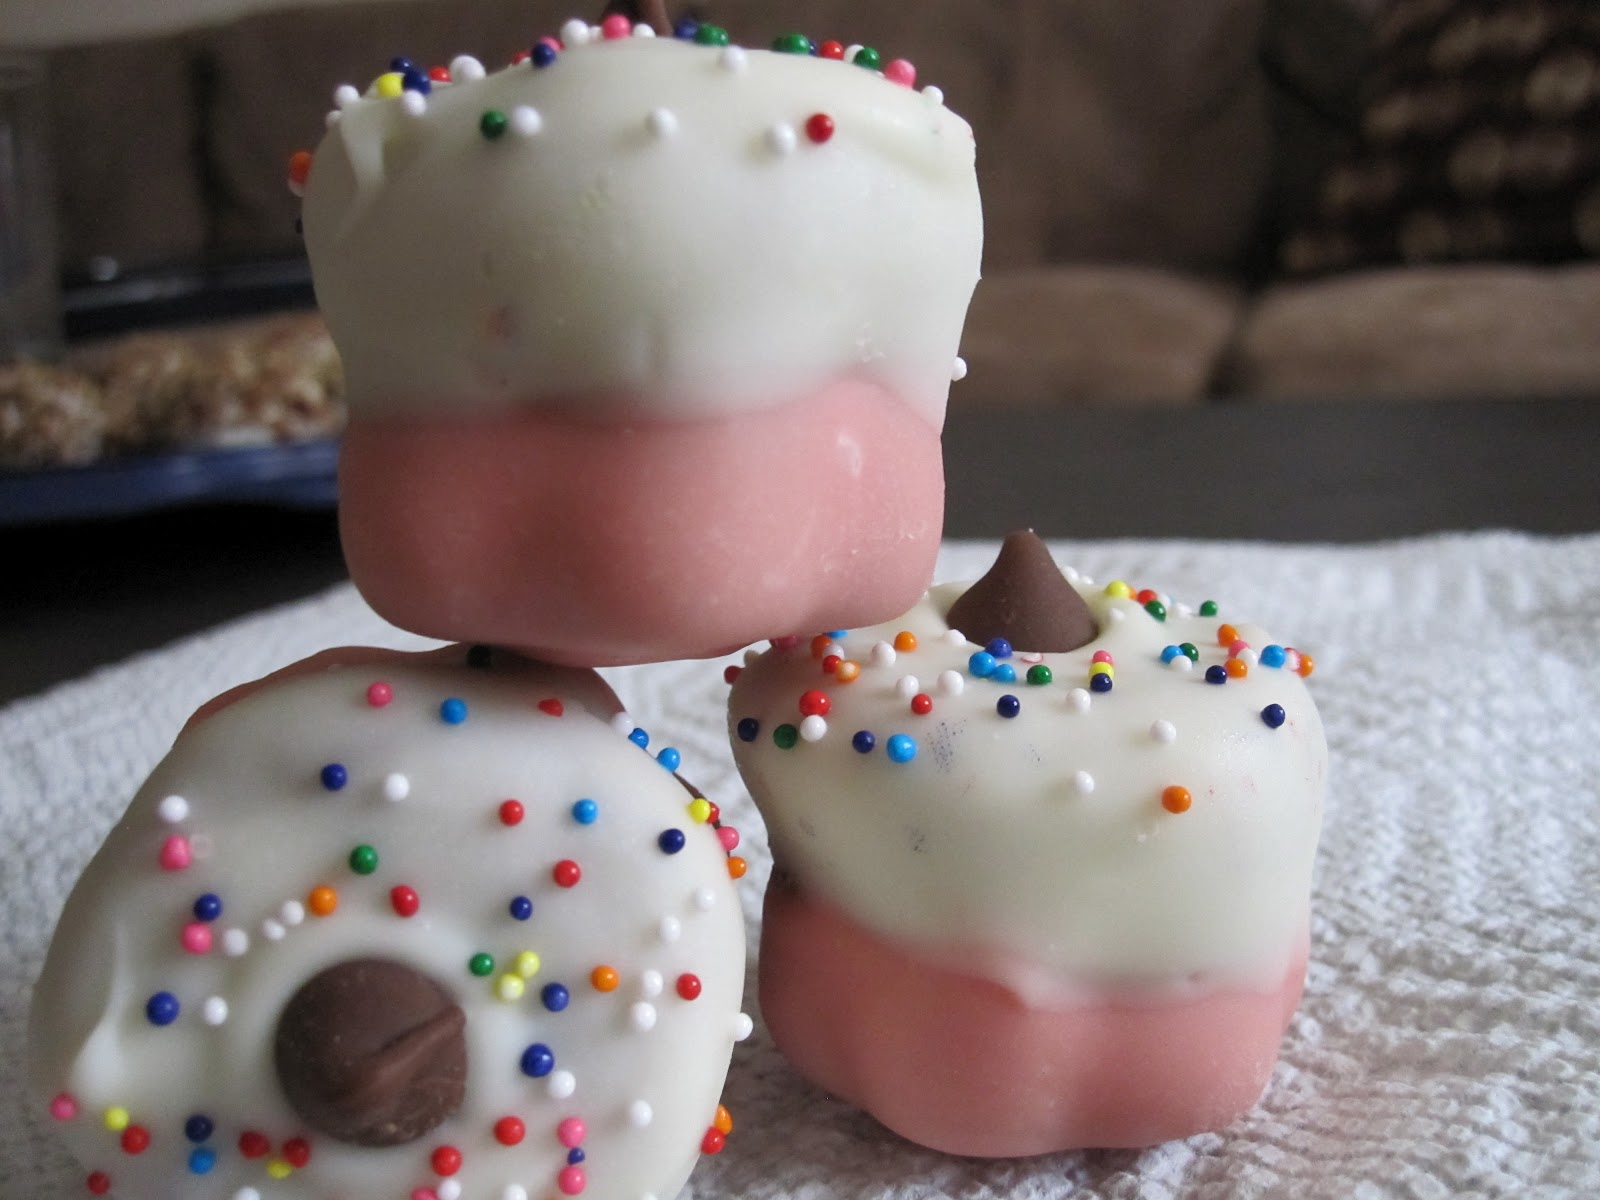 |
| Cupcake Balls |
 |
| Made with a chocolate chip and covered in sprinkles |
 |
| Notice a little bit of sprinkles smear because of the heat condensation |
 |
| Carrot Cake Balls |
 |
| Rolled in Pecans |
 |
| Inside of the Carrot Cake Balls |
CARROT CAKE BALLS
Adpated from Bakarella's Cake Pop Book
INGREDIENTS
Preheat oven to 350F degrees
1 box of carrot cake mix (Betty Crocker)
1 1/3 c. water
3 eggs
1/3 c. vegetable oil
1 container of cream cheese frosting (Betty Crocker)
4-8 oz. bag of white candy melts or chocolate bark*
4-8 oz. bag of pink candy melts or chocolate bark*
Sprinkles
M&Ms
*If doing cake balls in one color- get 8 oz of the candy melts or chocolate bark. If making cupcake shapes, get 4 oz. of each desired color.
*If doing cake balls in one color- get 8 oz of the candy melts or chocolate bark. If making cupcake shapes, get 4 oz. of each desired color.
DIRECTIONS
Make cake according to box instructions. Let cool completely (I usually cool over night but this time I cooked it for 4 hours). Once cooled, cut the edges off the cake (as well as top and bottom layers of cake). In a large bowl using a food processor or your hands, crumble the cake into fine bits. Add slightly less than 3/4 of the cream cheese frosting. Mix well. Roll into 1 1/2 inch round balls. Place in refrigerator until chilled.
In the meantime, melt either chocolate bark or candy melts according to package directions. This is my secret, once the chocolate is melted I stir in the vegetable oil. This makes the chocolate have a smoother and shinier coating :)
Now, I am going to tell you how I get perfectly dipped cake balls but if you have your own method that works-- you are more than welcome to do it that way--this is just whats worked best for me. Once chocolate has melted, take a cake balls and while holding the top half, dip the bottom half into the chocolate, then dip a cake pop stick into the chocolate (about 1/2 inch) and push into the center of the cake balls until about, no more, than half way through. Let cool. This will make it much easier to dip the rest of the cake ball- otherwise I have found that the cake balls either gets stuck in the chocolate or falls off the stick.
Once cooled, dip the top of the cake balls and a little part of the bottom, that was already coated into the chocolate. Immediately roll in pecans and allow to cool by sticking into flower foam. Once dried- holding the cake ball with one hand, gently twist the cake pop stick with your other hand pull out.
For cupcake shaped balls begin by rolling balls first into logs. Fit logs into a 1 1/4-by-3/4-inch flower-shaped cookie cutter. Push cake mixture into the cutter halfway so that some of the cake mixture extends beyond the top of the cutter. Shape extended cake mixture into a cupcake-shaped top. Push cake from cutter to remove. Place back in refrigerator For the cupcake pop- dip the bottom of each cupcake into the pink candy melt; insert a lollipop stick into the bottom of each cupcake. Dip the tops of the cupcakes into the white candy melt and place right-side up on into a Styrofoam square. Place a candy-coated chocolate in the center of each and top with sprinkles.
Also see: No Bake Cake Batter Truffles for "My Little Cupcake" method.
Enjoy,
Also see: No Bake Cake Batter Truffles for "My Little Cupcake" method.
Enjoy,
Chika


